
How to Start Basil from Seed (and Why It’s Totally Worth It)
Basil might just be the gateway herb.
It’s easy to grow, smells amazing, and turns even a basic tomato sandwich into something worth writing home about. Starting it from seed? Easier than you think—and way more rewarding than buying leggy grocery store starts.
In my family, most mornings start with a kiss and a greenhouse roll call — just us, a cup of coffee, and trays of baby seedlings. It makes me laugh because I never anticipated my husband, Lee, to become so invested and now he checks germination rates like he’s tracking stock prices. It is a happy bi-product of growing from seed. We’ve both agreed that Seedling #4 is "the overachiever." Honestly, we might be a little too proud.
Why Start from Seed?
- It’s cheaper: One seed packet = dozens of plants
- It’s fresher: You control the soil, sun, and timing
- It’s flexible: Grow it indoors, outdoors, in containers, or garden beds
- It’s rewarding: Nothing like watching your own sprout baby thrive!
What You’ll Need

- Basil seeds (we love Genovese, Lemon, or Thai Siam Queen)
- Seed starting mix
- Small containers or trays
- Spray bottle or mister
- A sunny windowsill or grow light
I love to use elastic bowl covers to hold in humidity—they come in all different sizes and you can pick them up for next to nothing at your local Dollar Tree. They fit snugly and help keep the conditions just right.
Step-by-Step: Starting Basil Indoors
1. Fill your containers with moist, lightweight seed starting mix.
2. Sow seeds ¼" deep, gently pressing them in.
3. Mist to moisten, then cover with a plastic dome or wrap.
4. Place in warmth and light—70–75°F is ideal. Use a heat mat if needed.
Heat mats = seedling magic. If you’ve ever struggled starting seeds indoors, a heat mat is a total game changer.
5. Wait 5–10 days for sprouting.
6. Remove cover once the seedlings appear
At this point, you're basically a plant doula. Congratulations.
7. Thin out extras, leaving one strong seedling per cell or pot.
8. Transplant outdoors once the danger of frost has passed, or move to a larger pot near a sunny window.
From the time your seedling sprouts to the time it's ready to harvest is about 6-8 weeks depending on growing conditions.

How to Harden Off Basil Plants (in 5 Easy Steps)
Your basil’s been living in a plant spa—perfect light, cozy temps, no wind. Giving it short, supervised time outside helps it adjust before the big move.
1. Start 7–10 Days Before Transplanting
Begin when outdoor temps are consistently above 50°F.
2. Day 1–2: Shade + Shelter
Place plants outside in dappled shade for 2–3 hours, then bring them back in.
3. Day 3–5: Increase Time + Light
Gradually increase outdoor time to 4–6 hours in partial sun.
4. Day 6–8: Full Sun Exposure
Let plants spend 6–8 hours in direct sun and gentle wind.
5. Day 9–10: Overnight Test
Leave plants out for a full day and mild night before planting in the garden.
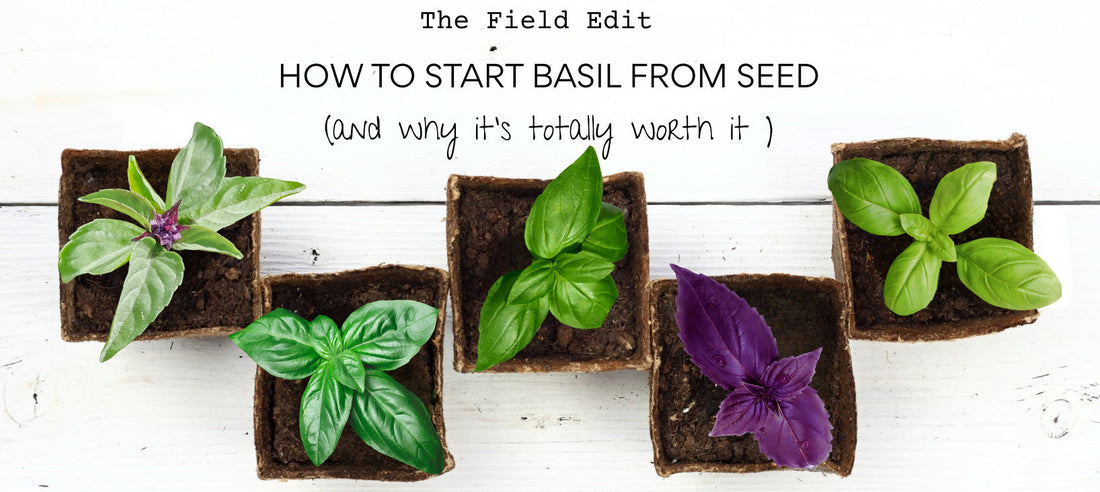
Our Favorite Basil Varieties
- Genovese Basil: Classic flavor, perfect for pesto
- Lemon Basil: Bright, citrusy flavor—great for fish dishes, teas, and summer vinaigrettes
- Thai Basil: Spicy-sweet with purple stems, ideal for stir fries and curries
Shop all basil seeds here — and bring home the variety that fits your garden (or windowsill) best.
So you’ve become a full-blown Basil Goddess…
Look at you—raising herbs like it’s second nature. Now let’s talk about all the cozy, delicious, and downright delightful ways to use every last leaf.
In the Kitchen:
- Classic Pesto: Blend fresh basil with olive oil, garlic, pine nuts, and Parmesan. Freeze in cubes for year-round flavor.
- Herb-Infused Oil: Steep basil leaves in olive oil and drizzle over grilled veggies, bread, or pasta.
- Basil Ice Cubes: Chop and freeze in water or broth to toss into soups and sauces later.
- Dry or Dehydrate: Hang to dry or use a dehydrator—perfect for winter cooking.
- Fresh Salads & Sandwiches: Toss leaves into caprese salad, tuck into sandwiches, or layer in wraps.
- Basil Lemonade or Tea: Steep with lemon and honey for a refreshing herbal drink.
- Bouquets & Gifts: Mix with flowers or tie a bunch with twine as a fresh-from-the-garden gift.
- In the Garden Spa
Basil isn’t just for your plate—it’s for your self-care, too:
- Basil Salt Scrub: Mix finely chopped basil with sea salt, olive oil, and a few drops of lemon essential oil. Exfoliate with purpose.
- Herbal Bath Soak: Toss a handful of fresh basil (or dried) into a muslin bag with Epsom salts and lavender for a calming soak.
- Basil Facial Steam: Add fresh basil leaves to a bowl of hot water, drape a towel over your head, and breathe deep. Great for clearing skin and sinuses.
- Basil-Infused Toner: Steep basil in hot water, strain, and chill. Use with a cotton pad as a refreshing herbal toner.
- Foot Soak: Add crushed basil to warm water with Epsom salt and mint for a tingly, relaxing end-of-day foot soak.
Quick Tips for Big Basil Energy
- When your basil plant has six true leaves, pinch off the top set to encourage bushy growth
- Harvest regularly (even if you don’t need it all—dry or freeze it!)
- Never let it flower unless you’re saving seed or feeding pollinators
Big basil energy = lush leaves, bold snips, and the quiet pride of seasoning dinner with something you raised from seed like a boss.
Whether it’s your first time sowing or your fiftieth basil haul, I hope this post leaves you feeling a little more confident—and a little more in love—with the magic that happens when you start from seed. Happy growing, friend. ~Lyndsay
Shop Now: Visit Field and Forage Seed Co. and Shop for all your favorite basil varieties!
A quick note from me:
Everything I share—from seed starting tips to homegrown spa-day ideas—is based on personal experience, a love of gardening, and a lot of trial and (joyful) error. I'm not a certified horticulturist, herbalist, or medical professional—just someone who believes in growing beautiful things and using them well. Please use your best judgment and consult professionals when needed. Now go enjoy that basil soak—you’ve earned it.
Filed Under: Planting the Seed, Herb Highlights