


Field and Forage Seed Co.
Blue Elderberry Seeds |Sambucus cerulea | Heirloom Native Perineal | Non-GMO | 50 Seeds
Blue Elderberry Seeds |Sambucus cerulea | Heirloom Native Perineal | Non-GMO | 50 Seeds
Couldn't load pickup availability
Blue Elderberry Seeds (Sambucus cerulea) – Heirloom, Non-GMO
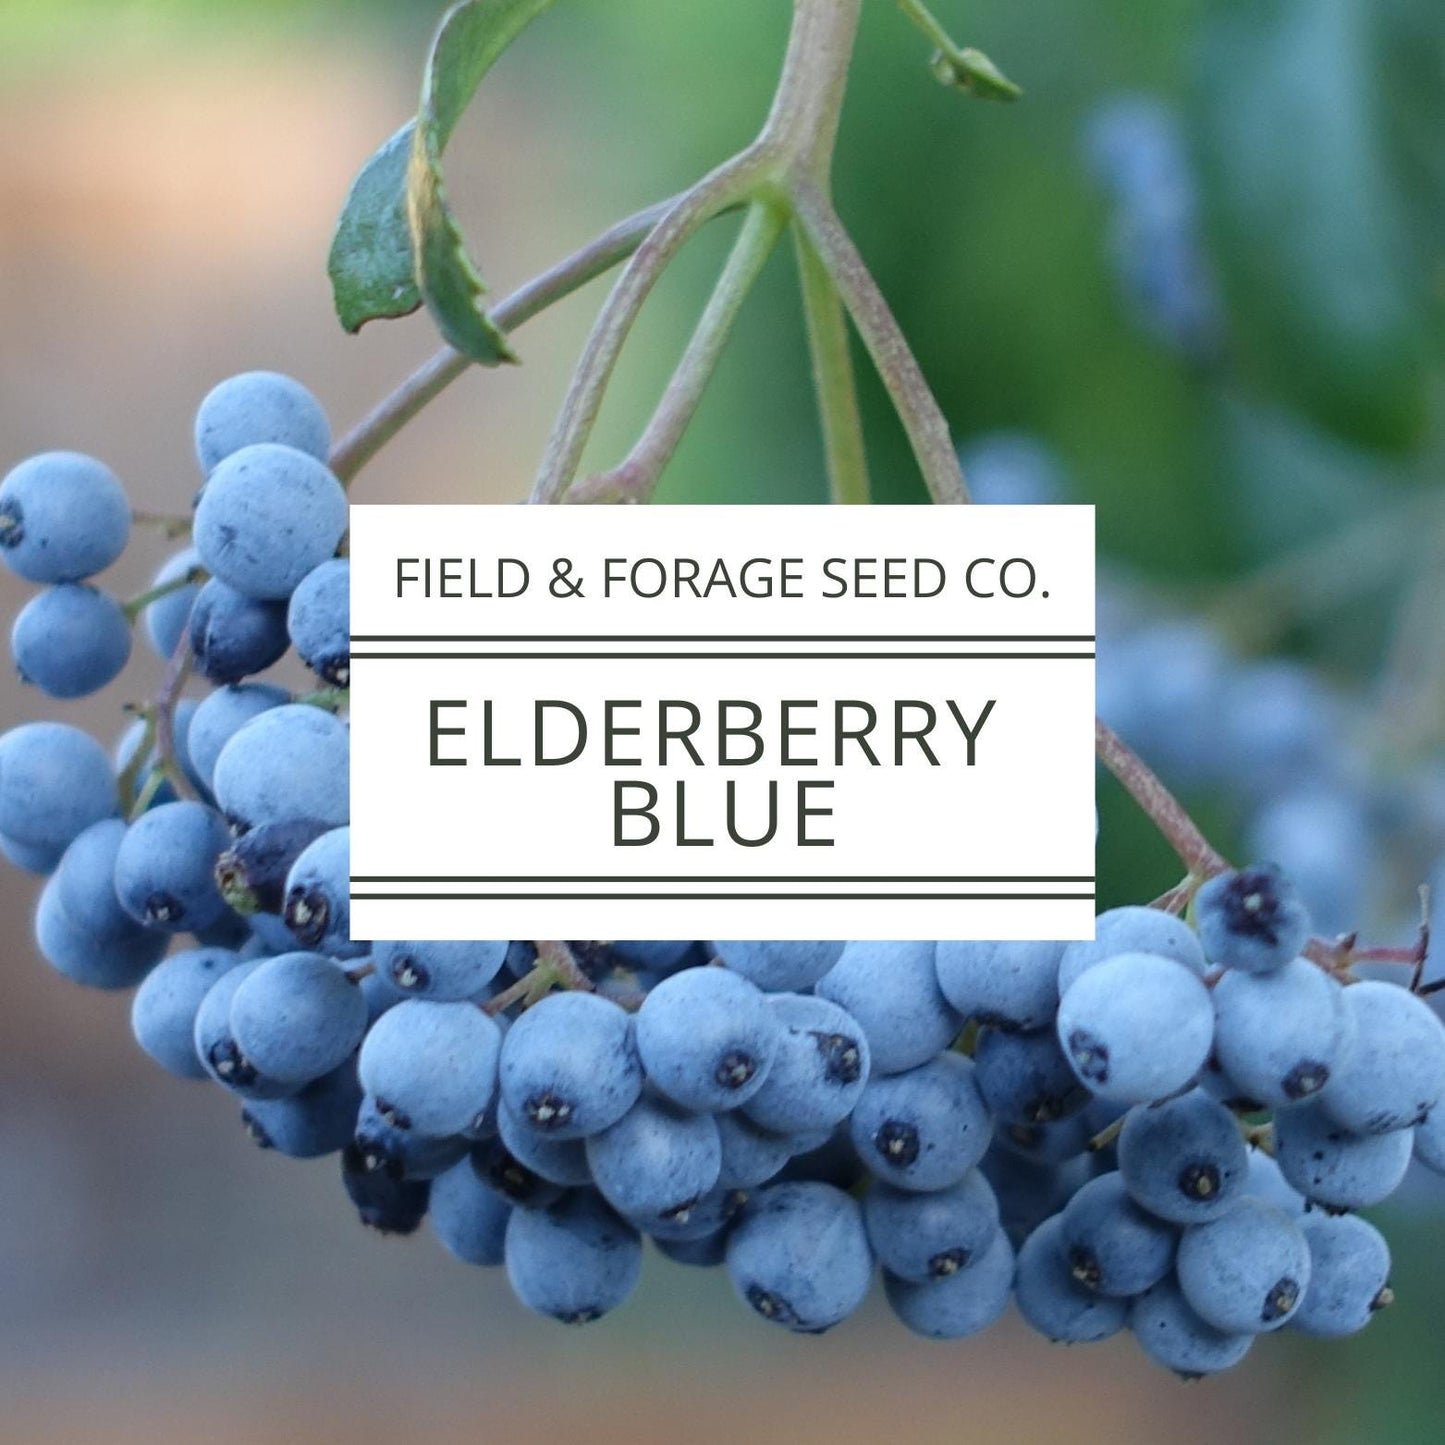
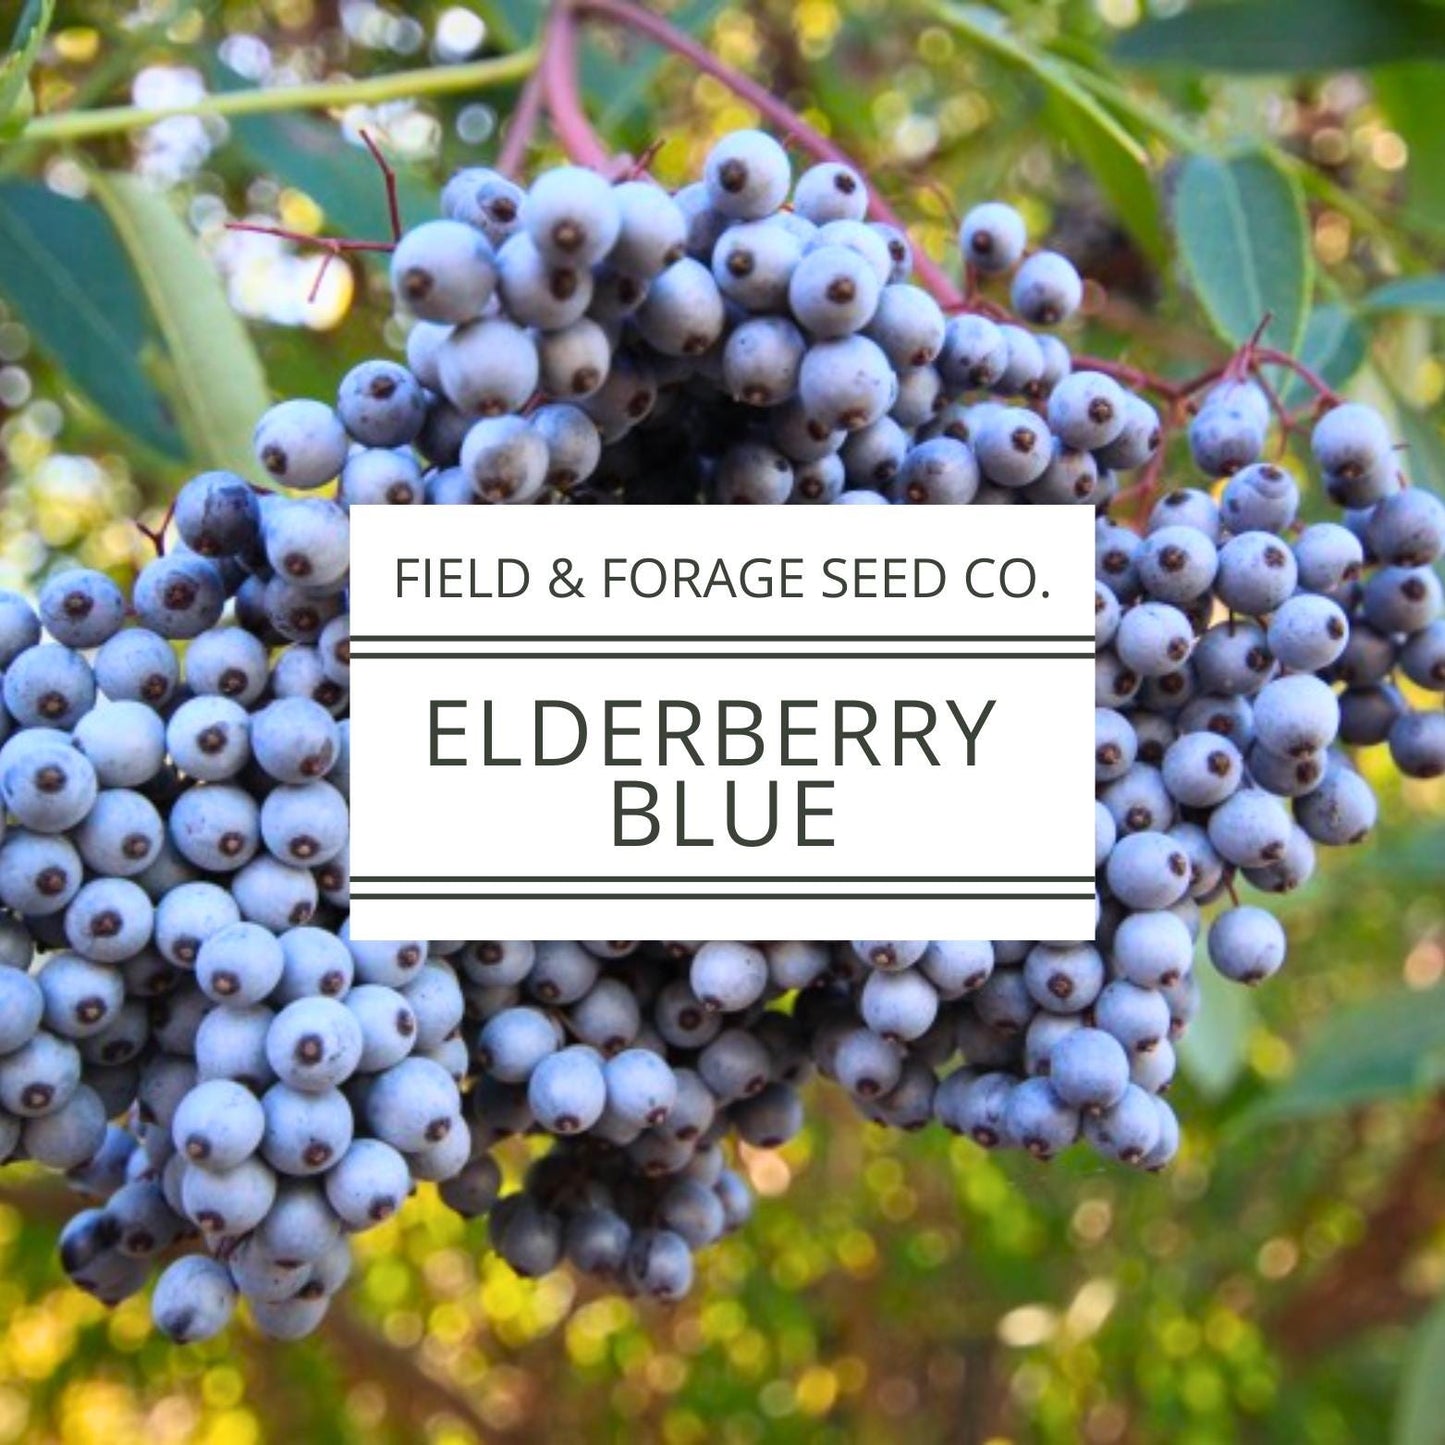
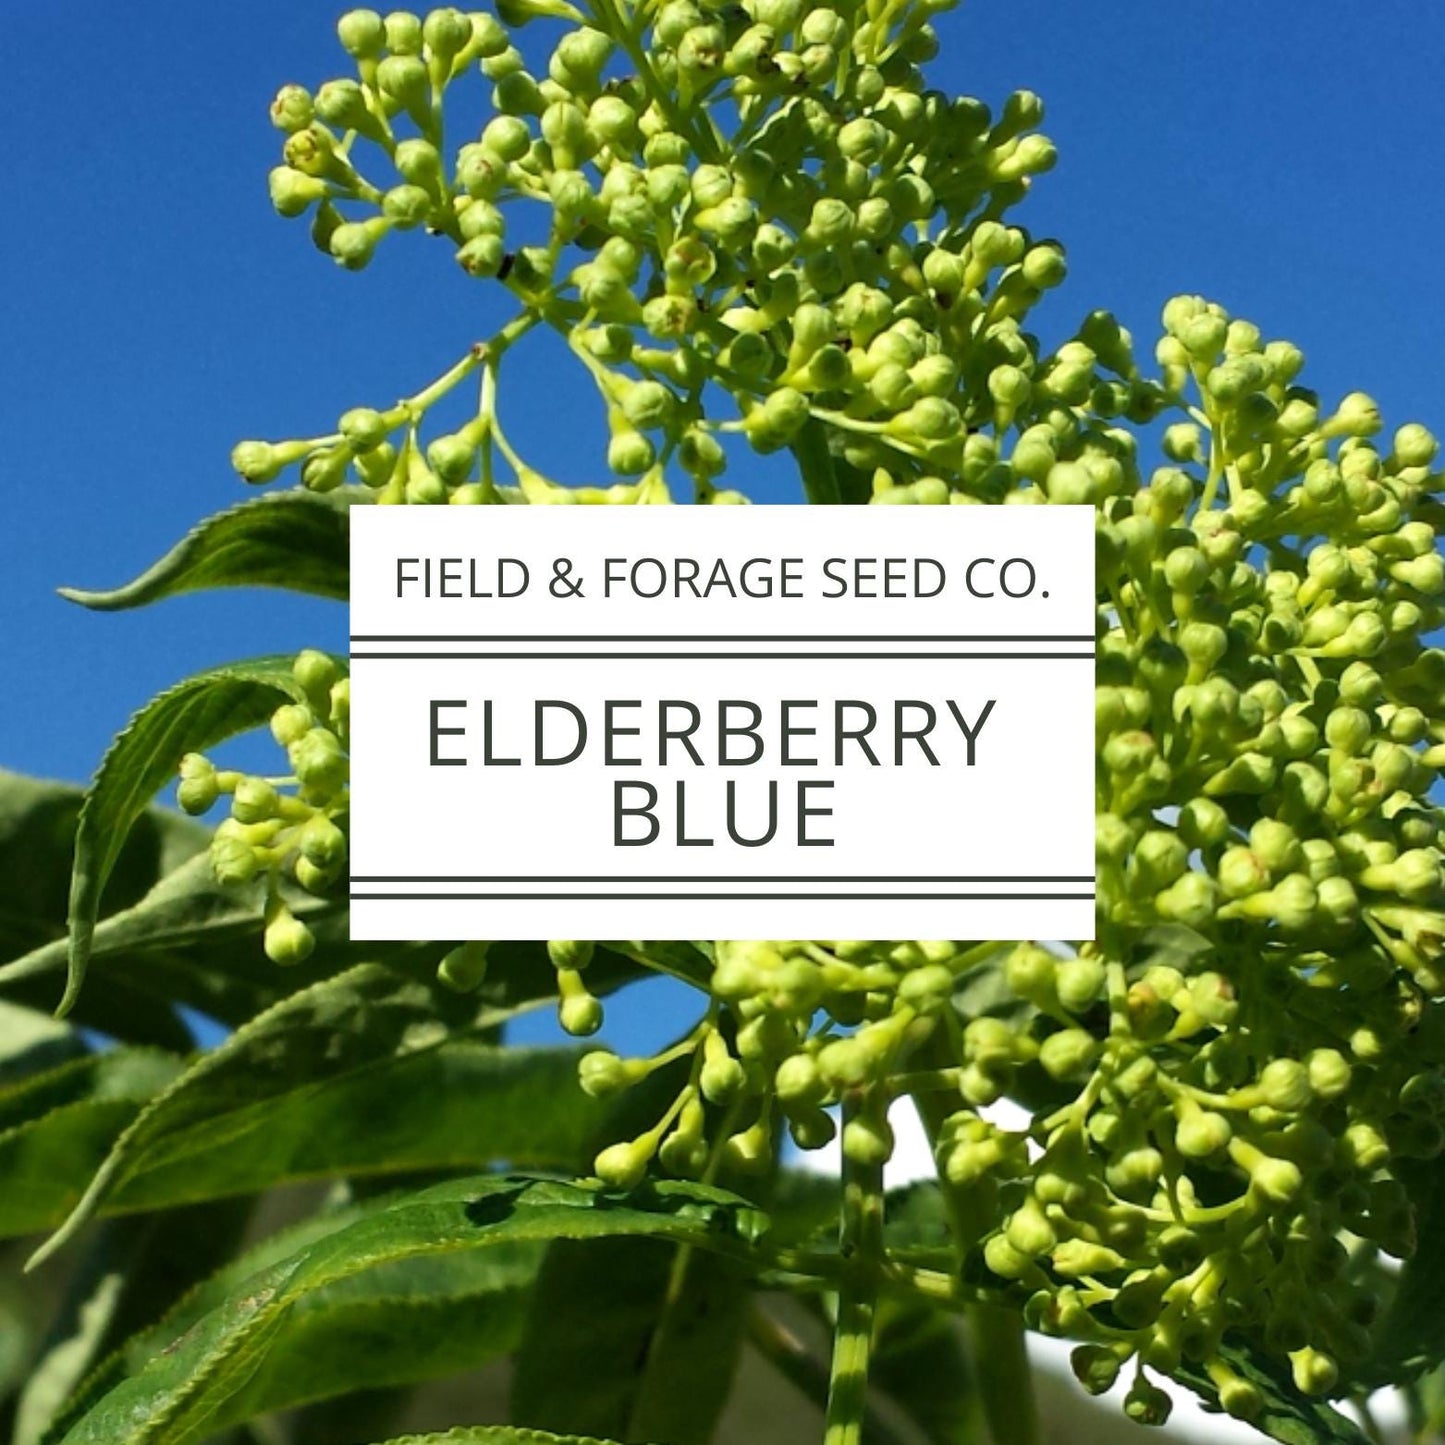
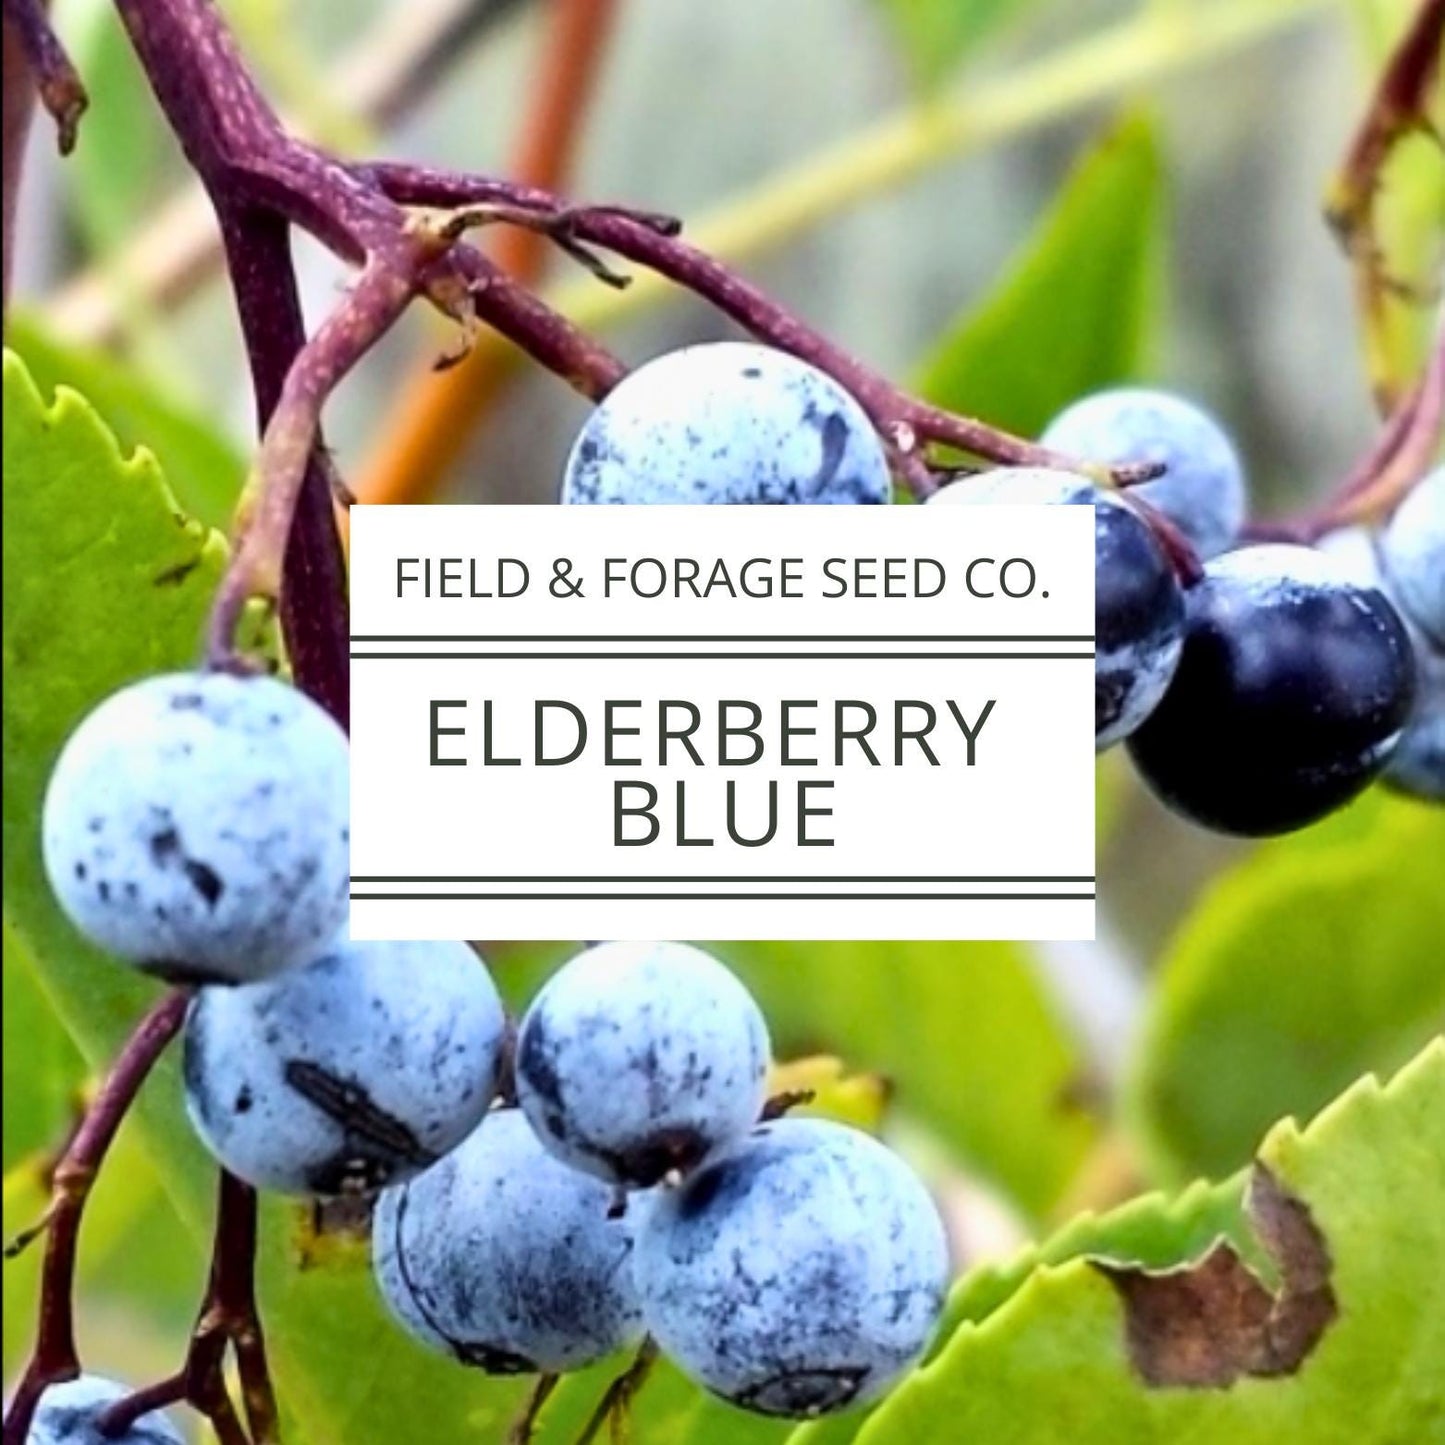
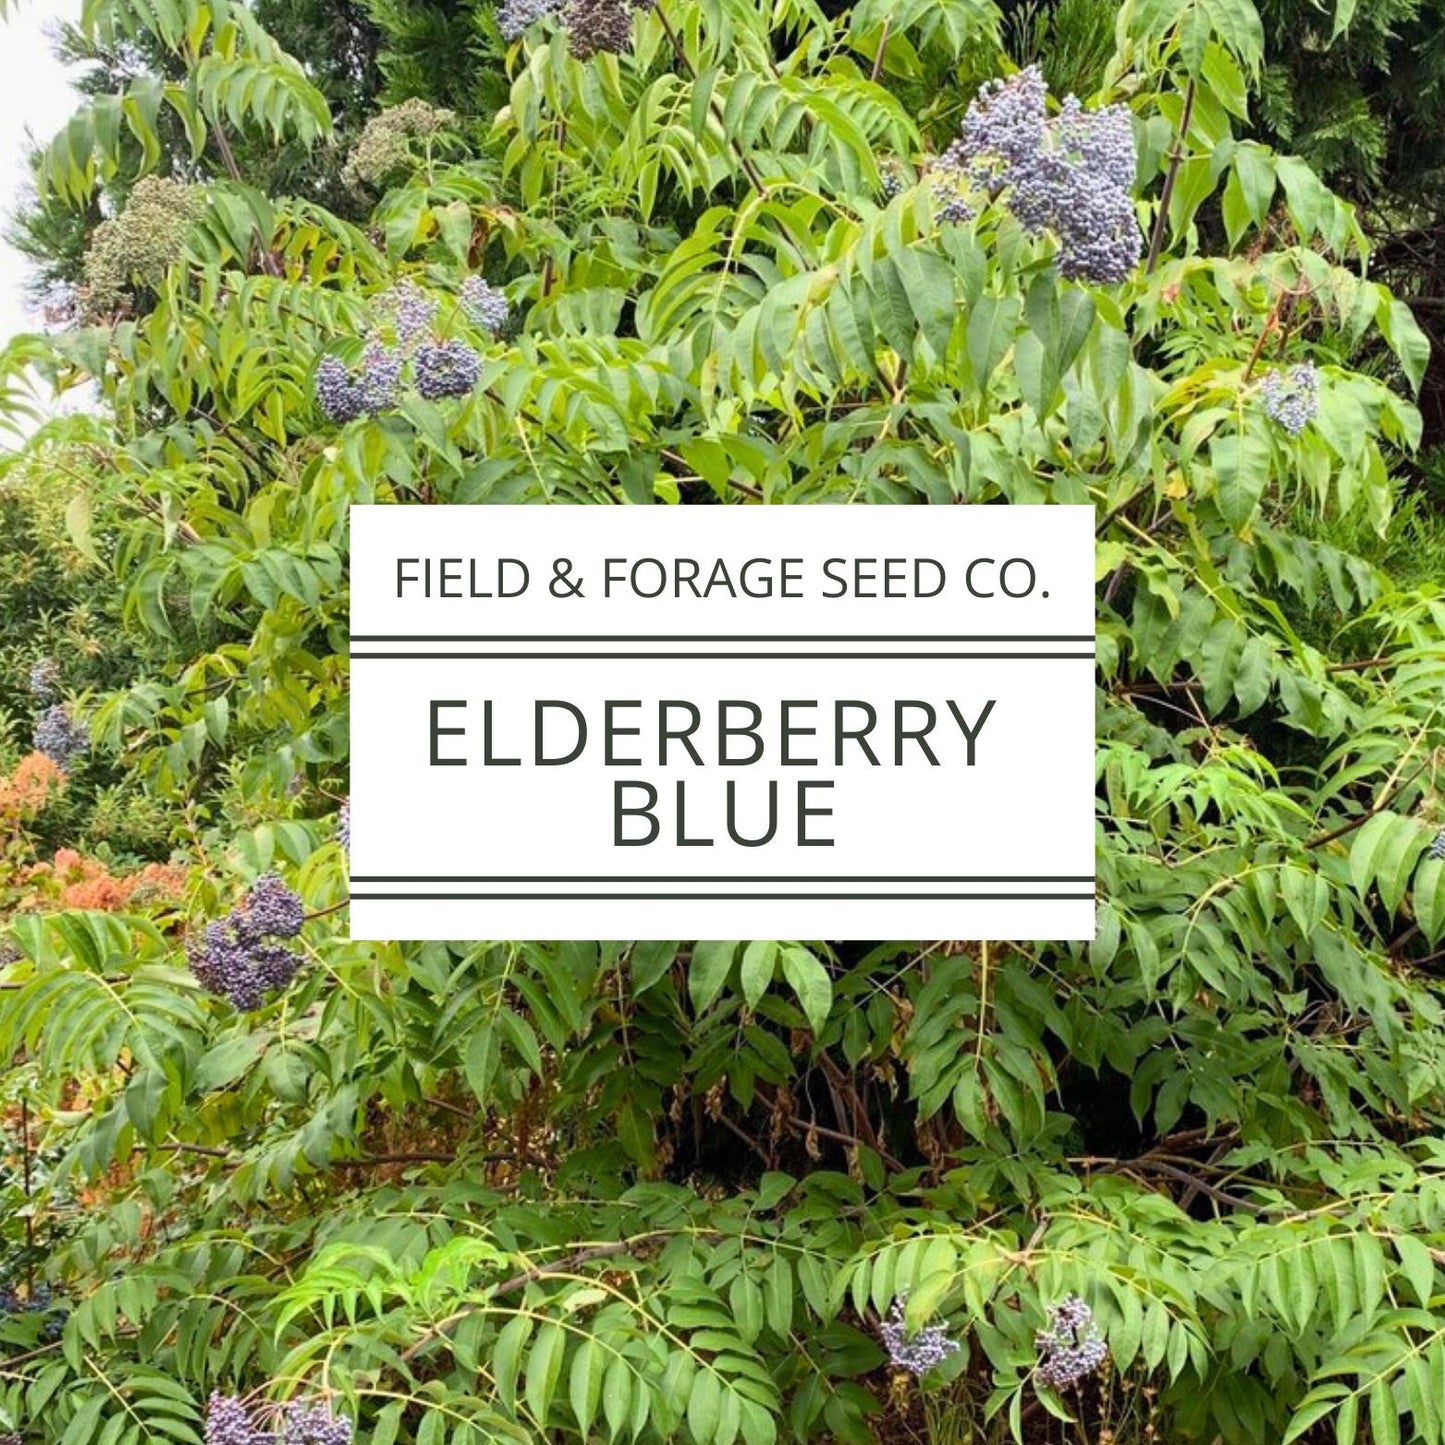
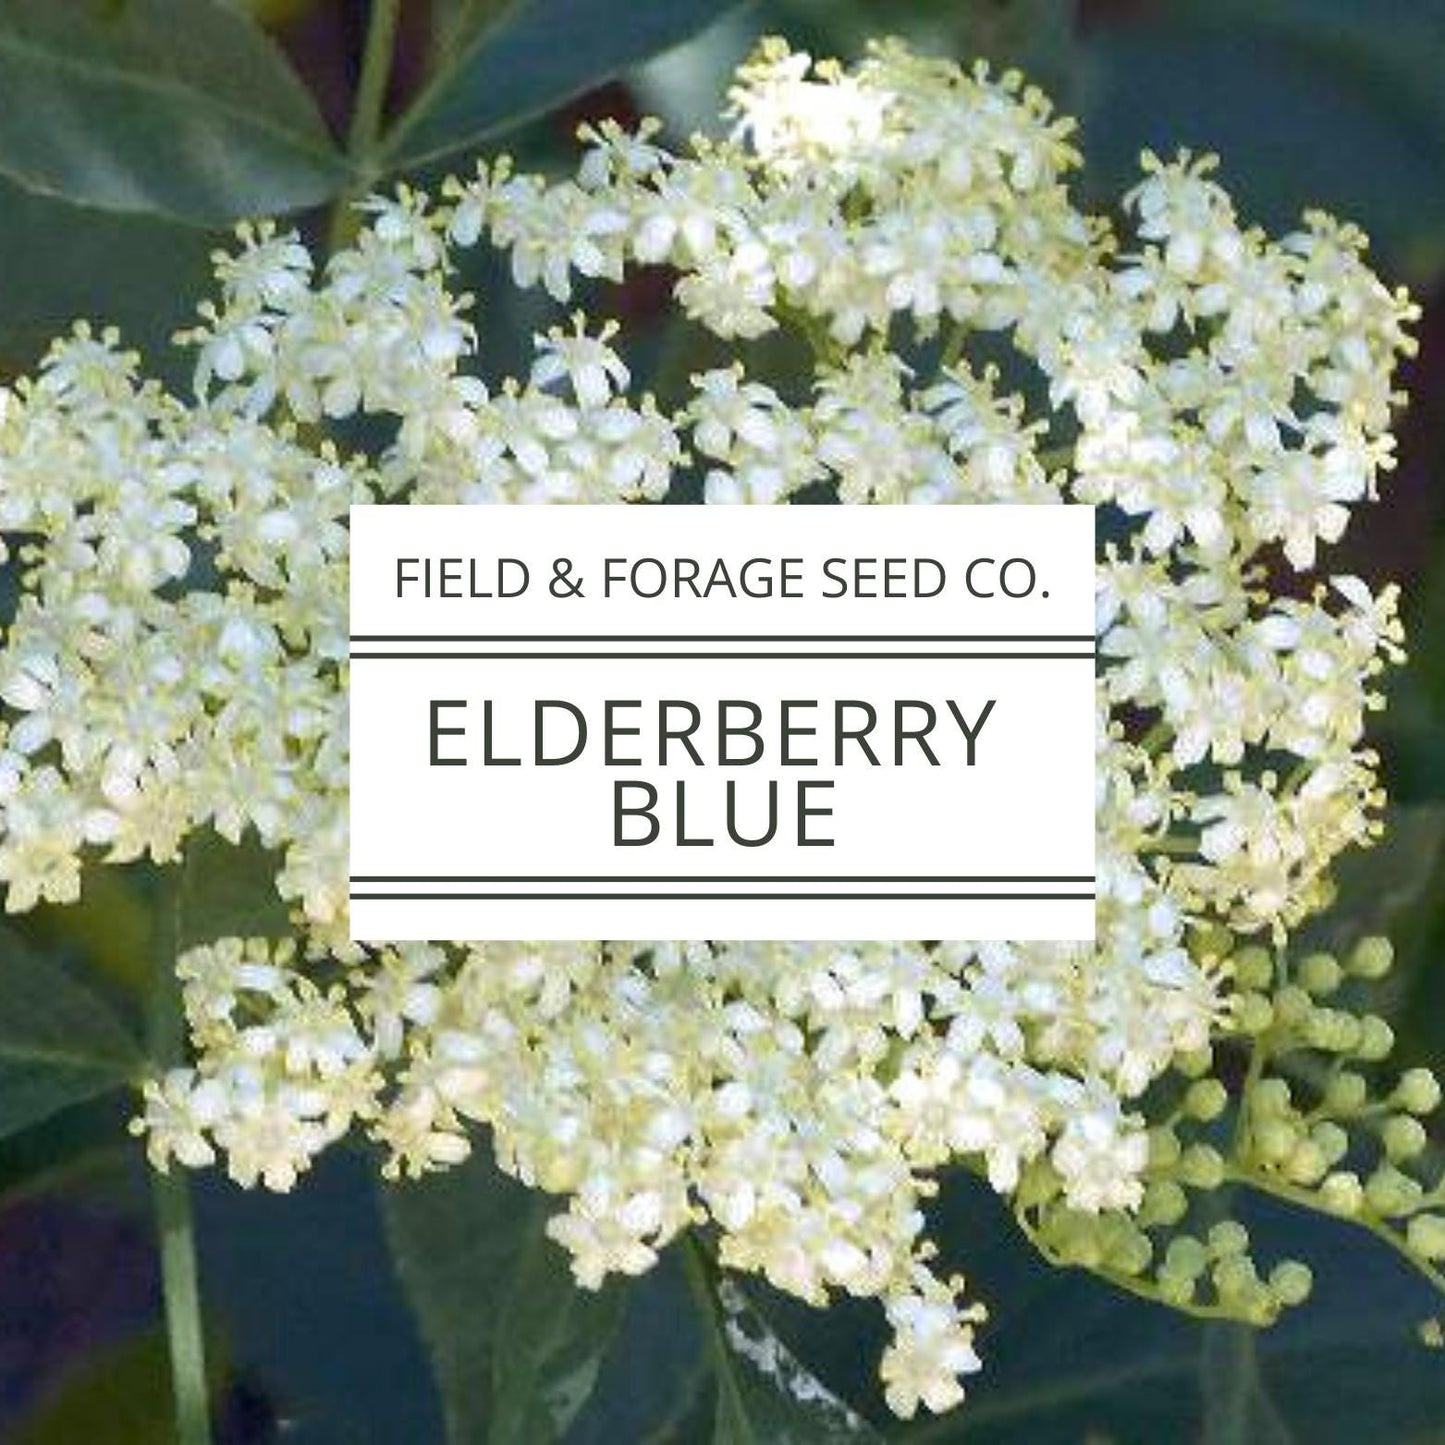
This native elderberry is one of our favorites for pollinators and for homegrown herbalists. Blue elderberry produces beautiful clusters of white flowers in spring, followed by powder-blue berries in mid to late summer. It’s a fast-growing, deciduous shrub that can reach 20–30 feet tall but is easily pruned to stay compact and manageable. It makes a lovely edible hedge, windbreak, or wildlife haven.
Elderberries are known for their long history of use in syrups, teas, and wellness blends—just remember: the berries should always be cooked before eating. If you don’t harvest them, the birds and wildlife surely will.
Native Americans used nearly every part of this plant for food, medicine, and crafting. It’s a generous, low-maintenance shrub once established—and a great choice for hands-off gardeners.
Skill Level: Intermediate to Advanced
Best suited for patient gardeners or those looking for a long-term herbal investment. Germination requires a few stages, but it’s well worth it.
Pollinator Friendly
- Bee Friendly
- Butterfly Friendly
- Hummingbird Friendly
How to Grow Elderberry from Seed
Option 1: Direct Sow Outdoors (Easiest)
Sow seeds in fall, directly into well-drained soil.
• Depth: ¼ inch
• Spacing: 10 feet apart
• Sow 3–4 seeds per planting spot
Let nature handle dormancy over the winter—this mimics what happens in the wild and tends to be the easiest and most effective method.
Option 2: Start Indoors (More Involved)
If you're up for the challenge, here’s a simplified breakdown of indoor germination:
Stage 1: Scarification
Soak seeds in hot water (175°F) for 10 minutes, then let them cool and soak for 24 hours.
Stage 2: Warm Stratification (60 Days)
Mix soaked seeds into moist peat moss and store in a warm place (72–75°F). Keep damp.
Stage 3: Cold Stratification (60 Days)
Move the bag to the fridge. Keep peat moss moist, checking periodically.
Stage 4: Sow Seeds
After stratification, sow 3–4 seeds per pot, ¼" deep, in well-draining soil (pH 5.2–5.5). Place in a sunny, warm spot. Allow up to 45 days to germinate.
Stage 5: Transplant
Once seedlings are several inches tall, transplant outdoors and water regularly until established.
Growing Tips:
• Prefers full sun and rich, well-drained soil
• Drought-tolerant once established
• Prune in late winter to shape
• Plant more than one elderberry variety to increase fruiting
Share